I know that for a first post, this is quite a stretch, but I tried uploading this tutorial up to my Tumblr page and... well, to put it bluntly, Tumblr just went "Nope!" and never let me upload it. So I'm doing it here. Actually, this is the reason why I created this blog in the first place.
Now for a bit of background on the reason for this tutorial: I've been heavily in to military history for a long time now, ever since I was a young(er) lad. But ever since me joining Tumblr, my love of history has been expanded by being introduced to a conflict that is very rarely ever mentioned but can be considered to be quite important in terms of modern warfare: the
Rhodesian Bush War. I won't go in to much detail on the war, since I've provided a link and it would make this post quite a long one. Plus, I also do intend to paint up some models for the Rhodesian Bush War in the near future.
To cut a long story short, the Rhodesian Defence Forces created a new camouflage scheme, a variant of the British 1959 pattern Denison Smock, more suited to the warmer environments of the Rhodesian bush. This was simply called Rhodesian Brushstroke.
In terms of camouflage schemes, it's quite high on the list of schemes that can be quite daunting to paint. I don't doubt that at all. I think it's got to be up there with the modern digital camouflage schemes (ACU, MARPAT, MTP, etc), so it doesn't really strike me that it's only seen on miniatures that are used for the Rhodesian Defence Forces. But I was really shocked to see that hardly anyone in the Warhammer 40k community has attempted it for the Guard.
So, I decided to rectify it and give it a go. Now I admittedly did not look around the internet for any tutorials on how to paint it. This was due to two things:
- I wanted to have a go at this myself just to give it a go.
- I am admittedly quite a lazy little bugger. Heh.
I was bit stuck on what colour paints to use, but a trip to my local Games Workshop in Chester helped me with that conundrum. I would like to thank Matthew for giving me the starting point with what paints to use for the camouflage.
Anyway, on to the tutorial proper!
Paints Needed.
I wanted to keep the practice scheme as close to the original scheme as shown in the first photo, so I went for mainly muted brushland colours. I've also got a lot of the older Citadel colours left over from before the change (a curse from being in this hobby for over 10 years), but the conversion chart is readily available on the GW site.
So for paints, you'll need:
- XV88
- Bleached Bone
- Seraphim Sepia
- Straken Green
- Catachan Green
- Chaos Black
- Mournfang Brown
- Lahmian Medium
I will say this upfront: I did regretfully not water down some of these paints enough and it does show on the models. But hey, practice makes perfect, no?
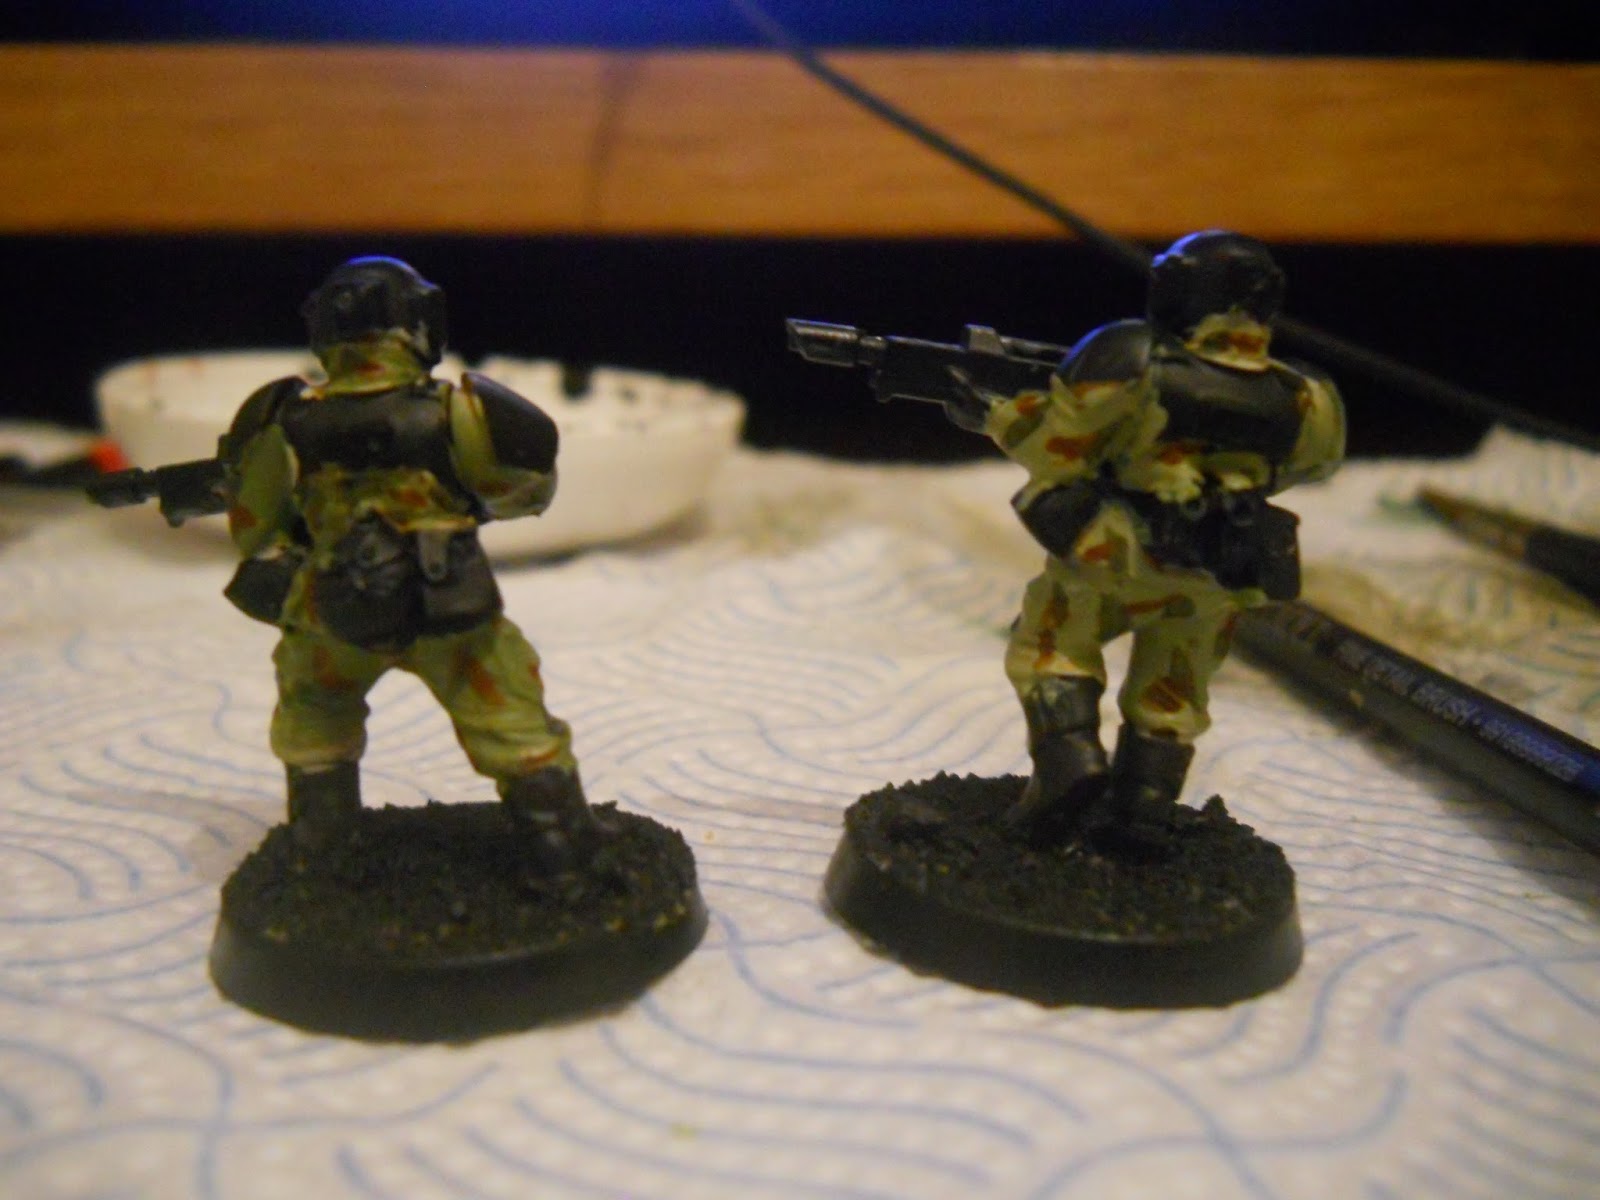
For the models, I used the £6 box of five snap-fit Cadian Shock Troops. They're simple to build and not that difficult to paint so they make good practice models. For ease of reference, I'll be showing both the front and back of the models. I do have to apologise about the varying qualities of the photographs.
The Painting.
Step 1: After undercoating the models in Chaos Black undercoat, I basecoated the areas of cloth with a layer of XV88.


Step 2: Over the XV88, layer on Bleached Bone. Do one or two layers, depends if you want to try and keep it as clean as possible. I applied roughly two layers to my models.
Step 3: Over the layer of Bleached Bone, apply a wash of Seraphim Sepia. Now regretfully for the next phase, I think that I overdid the next layer due to not being able to see the shading through the paint. Again, it's all practice so live and learn. I also did unfortunately mix up the placement of the models, so sorry about that.
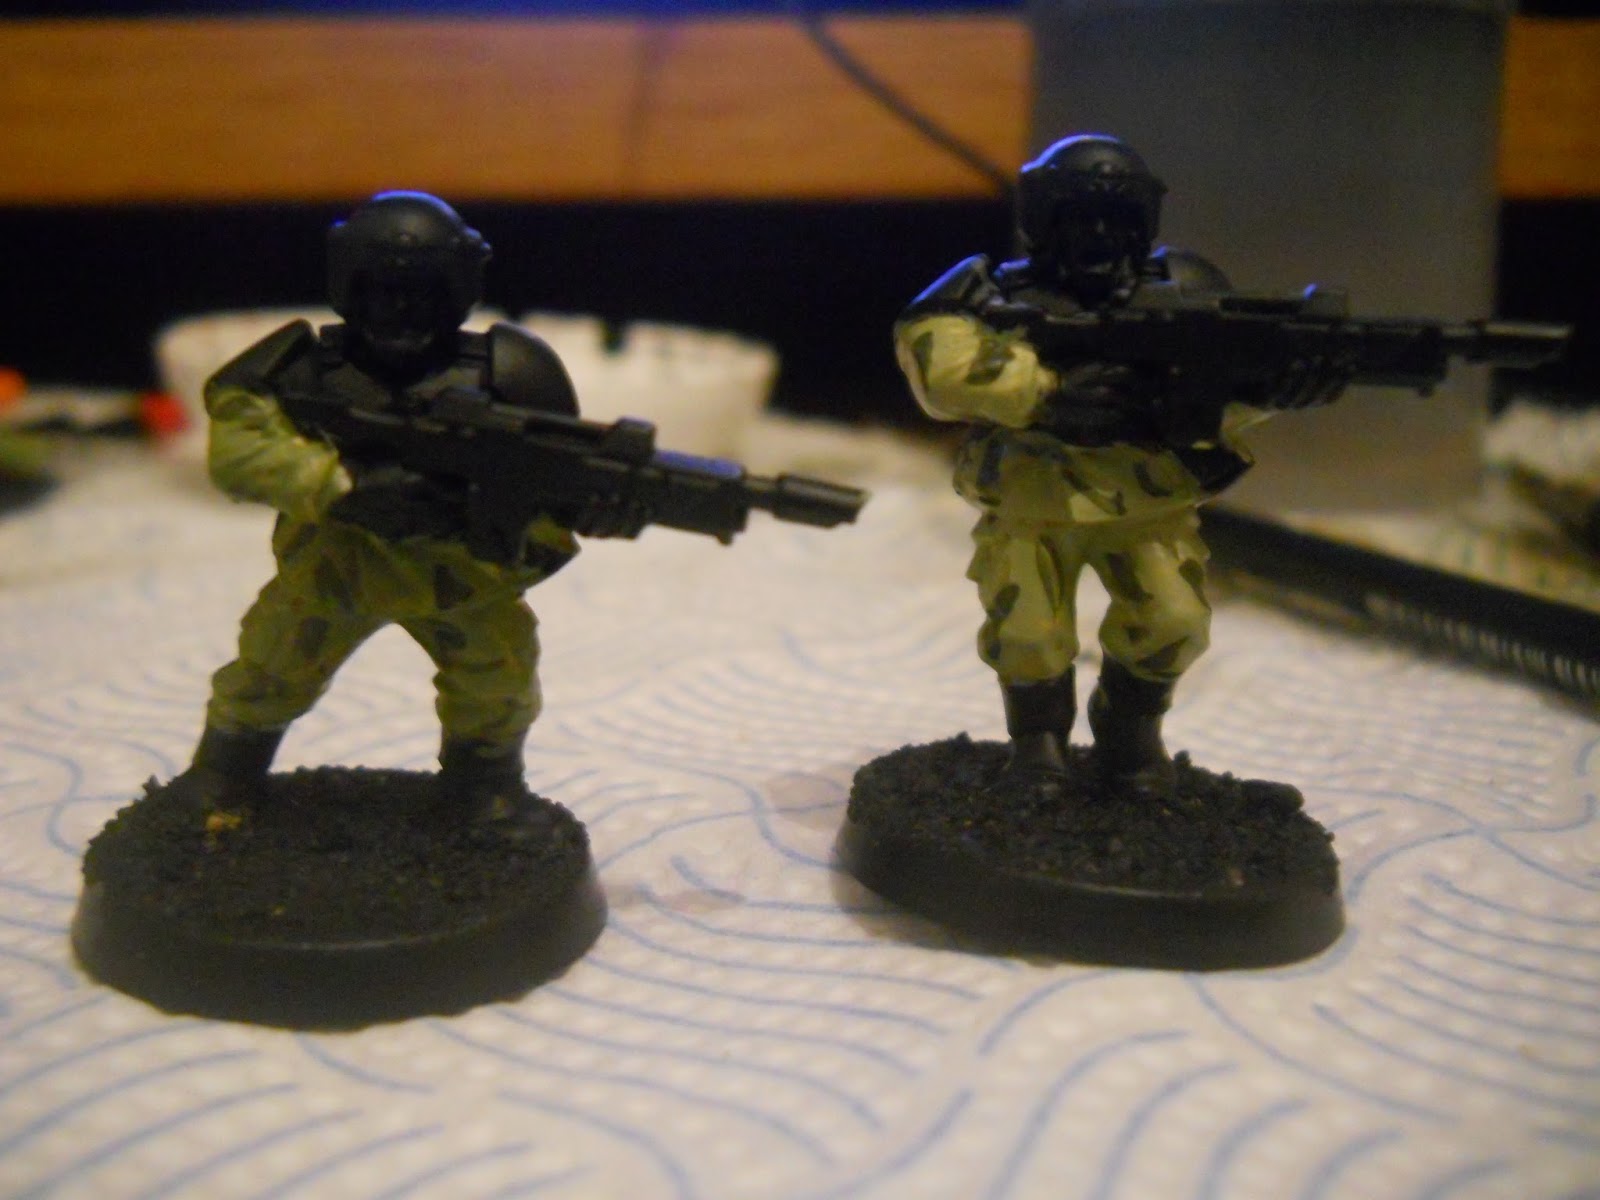
Steps 4 and 5: Now this is one of the reasons why I didn't go with any online tutorials, since I wanted to a bit of experimenting. Originally, I was going to layer over the shaded Bleached Bone with Straken Green, but I found that the Straken Green was a bit too bright, so I decided to try mixing it with some Bleached Bone. The model on the left was done with 1:1 mix of Bleached Bone:Straken Green while the model on the right was done with a 3:1 mix of Bleached Bone:Straken Green.
I did forget to take pictures of the models with the third layer applied, so I apologise about that, but it doesn't really make much of a difference since you can still see the layers. Anyway. For the first layer of the camouflage patches, I used straight Catachan Green and applied it to the Bleached Bone:Straken Green mix using the side of the fine detail brush. One of the things that I should stress is that when you're applying the patches to the cloth, make sure the patches on the jacket don't spill over on to the trousers. This shows that the Guardsman is wearing two separate pieces of clothing and it also helps break up the outline of the model.


Step 6: The next step for the camouflage is to apply some more patches with a 1:1 mix of Mournfang Brown:Lahmian Medium. Now I cannot stress how brilliant Lahmian Medium is for painting. Essentially, it's a thinning agent for paint in lieu of watering the paint down. If you thin paint down with water, you also water down the pigment which essentially turns the paint in to a water-colour. But with Lahmian Medium, the strength of the pigment is kept pretty much the same, meaning you can keep the strength of the paint you mixed it with, in this case brown.
Step 7: And you're done! Apply your chosen colours for the armour, skin and other equipment on the model, and you'll be gold.
My examples are a bit plain, I know. I'd have liked to include some fully painted examples of the models, but work and preparing for Christmas has been hell on my schedule. I'll try and get them done soon.
Still, if this helps any of you, I'm perfectly happy.